
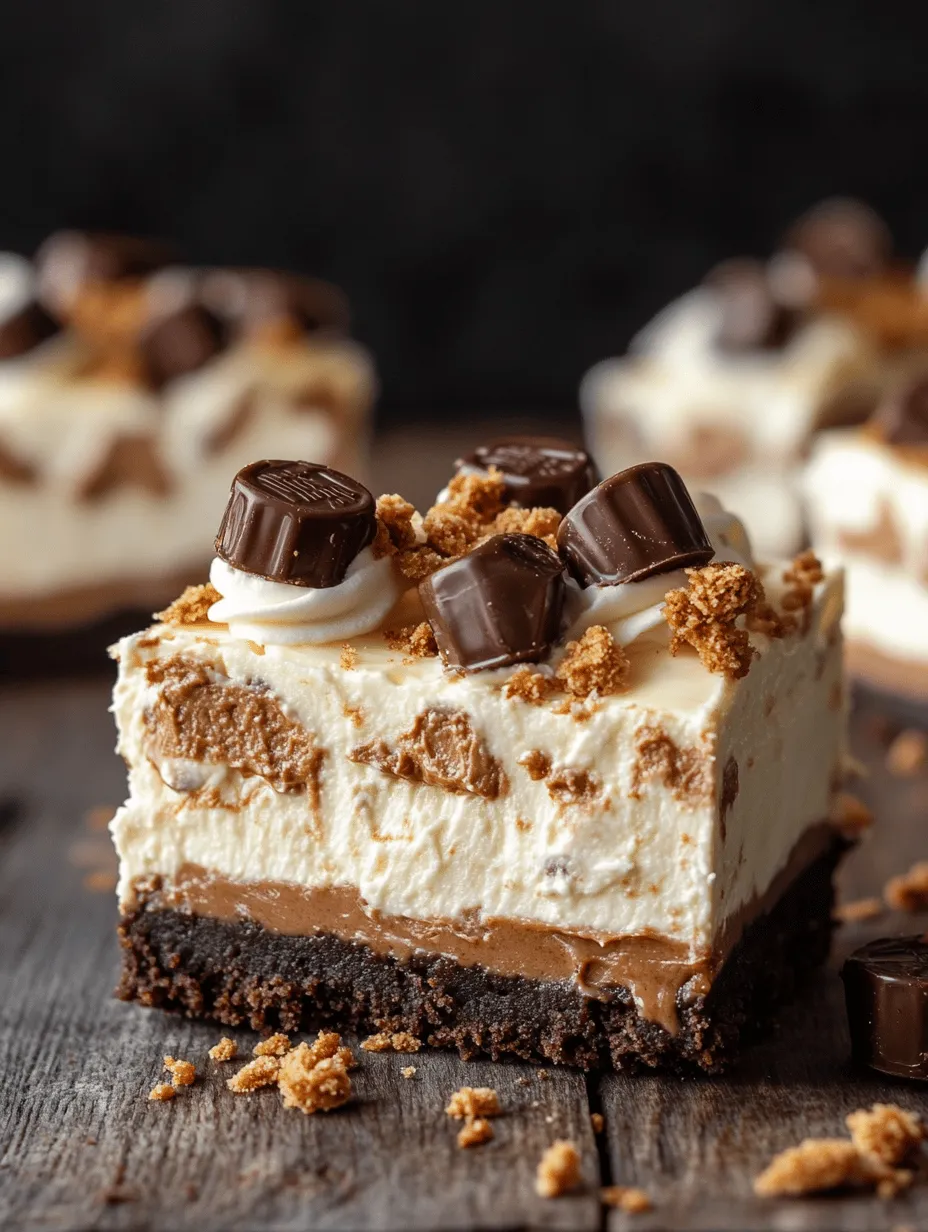
Indulging in a sweet treat can be one of life’s simplest pleasures, especially when it combines the rich flavors of chocolate and peanut butter in a heavenly confection. Enter Reese’s Butterfinger Cheesecake Bars—a delightful fusion of creamy cheesecake, crunchy Butterfinger bars, and the beloved taste of Reese’s peanut butter. This recipe takes the classic cheesecake to new heights, transforming it into a decadent dessert that pleases the palate and satisfies the soul.
The inspiration behind Reese’s Butterfinger Cheesecake Bars lies in the nostalgic flavors of childhood favorites. Much like the joy of unwrapping a candy bar on a special occasion, these cheesecake bars evoke a sense of comfort and celebration. Perfect for a family gathering, birthday party, or even a cozy night in, they are a versatile dessert that makes any occasion feel special. The combination of textures—from the smooth cheesecake filling to the crunchy layers of Butterfinger and graham cracker crust—creates a delightful contrast that is sure to impress your guests and leave them wanting more.
In this article, we’ll guide you through the process of creating these irresistible cheesecake bars, exploring their key components and giving you the tools to make your baking experience both enjoyable and successful. Let’s embark on this delicious journey together!
Understanding the Key Components of the Recipe
To fully appreciate the delightful experience of Reese’s Butterfinger Cheesecake Bars, it’s essential to break down the main components that contribute to their unique flavor and texture. Each layer plays a crucial role in the overall outcome of this delectable dessert.
The Crust: A Foundation for Success
The crust serves as the essential base of the cheesecake bars, providing both flavor and texture. Here’s a closer look at its key ingredients:
– Graham Cracker Crumbs: The backbone of the crust, graham cracker crumbs lend a subtle sweetness and a hint of cinnamon flavor. Their crumbly texture provides the perfect contrast to the creamy filling, ensuring each bite is balanced and satisfying.
– Cocoa Powder: Adding unsweetened cocoa powder to the crust enhances its chocolate essence. This ingredient not only deepens the flavor profile but also contributes to the overall richness of the bars, making them even more indulgent.
– Granulated Sugar: A touch of sugar is essential to balance the flavors of the crust. It amplifies the sweetness without overpowering the other ingredients, ensuring a harmonious blend.
– Unsalted Butter: This ingredient binds the crust together, creating a firm yet tender base. The fat from the butter adds richness and helps achieve that perfect crispy texture.
Preparation Steps for the Crust
Before diving into the cheesecake filling, it’s important to prepare the crust properly. Here’s how to do it:
1. Preheat the Oven: Begin by preheating your oven to 350°F (175°C). This step is critical as it ensures even baking and helps set the crust perfectly.
2. Mixing Techniques: In a mixing bowl, combine the graham cracker crumbs, cocoa powder, sugar, and melted unsalted butter. Use a fork or a pastry cutter to blend the ingredients until the mixture resembles wet sand. This step is crucial for achieving a uniform crust.
3. Pressing into the Baking Pan: Once mixed, transfer the crust mixture into a greased baking pan. Using your fingers or the bottom of a glass, press the mixture evenly into the bottom of the pan. Ensure it is compact and flat to provide a solid foundation for the cheesecake filling.
Crafting a Creamy Cheesecake Filling
Now that the crust is prepared, let’s turn our attention to the luscious cheesecake filling. This layer is where the magic truly happens, creating a creamy, dreamy texture that perfectly complements the crunchy crust and candy toppings.
Key Ingredients for the Cheesecake Filling
– Cream Cheese: The star ingredient, cream cheese, is responsible for the smooth and creamy texture of the filling. Soften it at room temperature to ensure easy mixing and a velvety consistency.
– Granulated Sugar: This ingredient sweetens the filling, balancing the creaminess of the cheese. The right amount of sugar ensures that the cheesecake is rich without being cloyingly sweet.
– Vanilla Extract: A splash of vanilla extract enhances the overall flavor, adding depth and warmth to the cheesecake. It’s a simple yet effective way to elevate the taste.
– Eggs: Eggs play a vital role in setting the cheesecake. They provide structure and stability, giving the filling its characteristic creaminess while ensuring it holds together when cut into bars.
– Creamy Peanut Butter: No Reese’s-themed dessert would be complete without peanut butter. Its rich, nutty flavor adds a delightful creaminess that complements the cheesecake beautifully.
– Crushed Butterfinger Bars: The final touch, crushed Butterfinger bars, infuse the filling with a sweet, crunchy texture. These candy bars not only add flavor but also a delightful surprise in every bite.
Preparation Process for the Cheesecake Filling
Creating the cheesecake filling is a straightforward process that requires attention to detail. Follow these steps to ensure your filling turns out perfectly:
1. Beat the Cream Cheese: In a large mixing bowl, beat the softened cream cheese with an electric mixer on medium speed until smooth and creamy. This step is crucial for eliminating any lumps and achieving a silky texture.
2. Add Sugar and Vanilla: Gradually add the granulated sugar and vanilla extract to the cream cheese, mixing until fully incorporated. This combination will sweeten and flavor the filling beautifully.
3. Incorporate the Eggs: Add the eggs one at a time, mixing on low speed after each addition. This technique ensures that the eggs are evenly distributed throughout the filling, preventing overmixing that can lead to cracks in the cheesecake.
4. Stir in the Peanut Butter: Once the eggs are fully incorporated, add the creamy peanut butter to the mixture. Beat until well combined, ensuring the filling is smooth and creamy.
5. Fold in the Crushed Butterfinger Bars: Finally, gently fold in the crushed Butterfinger bars. This step adds a delightful crunch and bursts of flavor that will elevate your cheesecake bars to new heights.
With both the crust and filling prepared, you’re well on your way to creating a dessert that will leave a lasting impression. The combination of rich cheesecake, crunchy Butterfinger, and the creamy allure of Reese’s peanut butter creates a symphony of flavors and textures that are sure to delight anyone lucky enough to enjoy them.
Stay tuned for the next part, where we will explore the final steps in assembling and baking these irresistible Reese’s Butterfinger Cheesecake Bars.

Gently Folding in Other Ingredients to Maintain a Light Texture
Once your cheesecake filling is prepared, it’s time to add the remaining ingredients that will enhance both the flavor and texture of your Reese’s Butterfinger Cheesecake Bars. The key here is to fold the ingredients gently, ensuring the mixture remains light and airy. Start by adding your softened cream cheese mixture to a large bowl, and then carefully incorporate the sour cream and vanilla extract. Using a spatula, scoop under the mixture and lift it over the top, repeating this motion until combined. This technique will help prevent the heavy cream from deflating, which is crucial for achieving that perfect creamy texture in your cheesecake.
Assembling and Baking the Cheesecake Bars
With your filling ready, it’s time to assemble the cheesecake bars. Begin by pouring the luscious filling over the cooled crust, making sure to spread it evenly across the surface. Use a spatula to smooth the top, ensuring that the filling reaches the edges and there are no air pockets. This step is essential for an even bake and consistent texture.
When it comes to baking, preheat your oven to 325°F (163°C). Place the assembled cheesecake bars in the oven and bake for approximately 30 to 35 minutes. Look for the edges to firm up while the center retains a slight jiggle when gently shaken. This slight jiggle is crucial, as it indicates that the cheesecake will have a creamy texture once cooled. Overbaking can lead to a dry cheesecake, so keep an eye on it as it approaches the 30-minute mark.
Cooling and Chilling
After baking, remove the cheesecake bars from the oven and allow them to cool completely at room temperature. This step is vital for preventing condensation from forming inside your cheesecake, which can alter its texture and flavor. Once cooled, cover the dish with plastic wrap and place it in the refrigerator. For the best flavor and texture, chill the cheesecake for at least 4 hours, or preferably overnight. This chilling period allows the flavors to meld beautifully, enhancing the overall taste of your dessert.
Whipping Up the Perfect Topping
The topping is what elevates these bars from delicious to extraordinary. For the topping, you will need heavy whipping cream, powdered sugar, mini Reese’s peanut butter cups, and crushed Butterfinger bars. The heavy whipping cream plays a pivotal role in creating a light and airy topping. When whipped, it adds volume and a delightful texture to your dessert.
To prepare the topping, start by pouring the heavy whipping cream into a mixing bowl. Using an electric mixer, beat the cream on medium speed until it begins to thicken. Gradually add in the powdered sugar while continuing to whip the cream. This sweetener not only enhances the flavor but also ensures that your whipped cream stays smooth and free of grittiness. Continue whipping until you reach stiff peaks, which means the cream holds its shape without collapsing.
Once your whipped cream is ready, gently fold in the mini Reese’s peanut butter cups and crushed Butterfinger bars. This will add delightful chunks of flavor and texture to your topping. Use a spatula to incorporate them gently, being careful not to deflate the whipped cream. To achieve a beautiful presentation, spread the whipped topping evenly over the cooled cheesecake bars, making sure to cover every inch.
Garnishing and Serving: Presenting Your Creation
Presentation is key when it comes to serving your Reese’s Butterfinger Cheesecake Bars. To elevate the visual appeal, sprinkle additional crushed Butterfinger bars and mini Reese’s peanut butter cups on top of the whipped cream. This not only looks enticing but also adds an extra layer of flavor.
When it’s time to slice the bars, make sure to use a sharp knife for clean cuts. For the best results, dip your knife in warm water before slicing, wiping it clean between each cut. This technique will help you achieve neat, uniform squares. Consider serving the bars chilled, as this enhances the creamy texture and flavor.
Storing and Enjoying Your Cheesecake Bars
If you happen to have leftovers (which is quite a feat considering how delicious these bars are), storing them properly will help maintain their freshness. Cover the bars with plastic wrap or transfer them to an airtight container before refrigerating them. They will stay fresh for up to 5 days in the fridge. Interestingly, the flavors of the cheesecake continue to develop and enhance after a day in the refrigerator, making them even more enjoyable on the second day.
Conclusion: Indulging in the Bliss of Reese’s Butterfinger Cheesecake Bars
Creating and enjoying Reese’s Butterfinger Cheesecake Bars is not just about satisfying your sweet tooth; it’s about indulging in a rich, creamy, and crunchy delight that brings joy to every occasion. This recipe combines beloved flavors into a dessert that is sure to become a favorite in your dessert repertoire. Whether you’re sharing them with friends and family at a gathering or savoring them as a personal treat, these cheesecake bars promise to delight your taste buds.
The satisfaction of creating this dessert lies not only in the delicious outcome but also in the joy of sharing it with others. Each bite is a perfect blend of chocolate, peanut butter, and crunch that will have everyone coming back for seconds. So, roll up your sleeves, gather your ingredients, and dive into the bliss of making these Reese’s Butterfinger Cheesecake Bars. You won’t regret it!