

Introduction
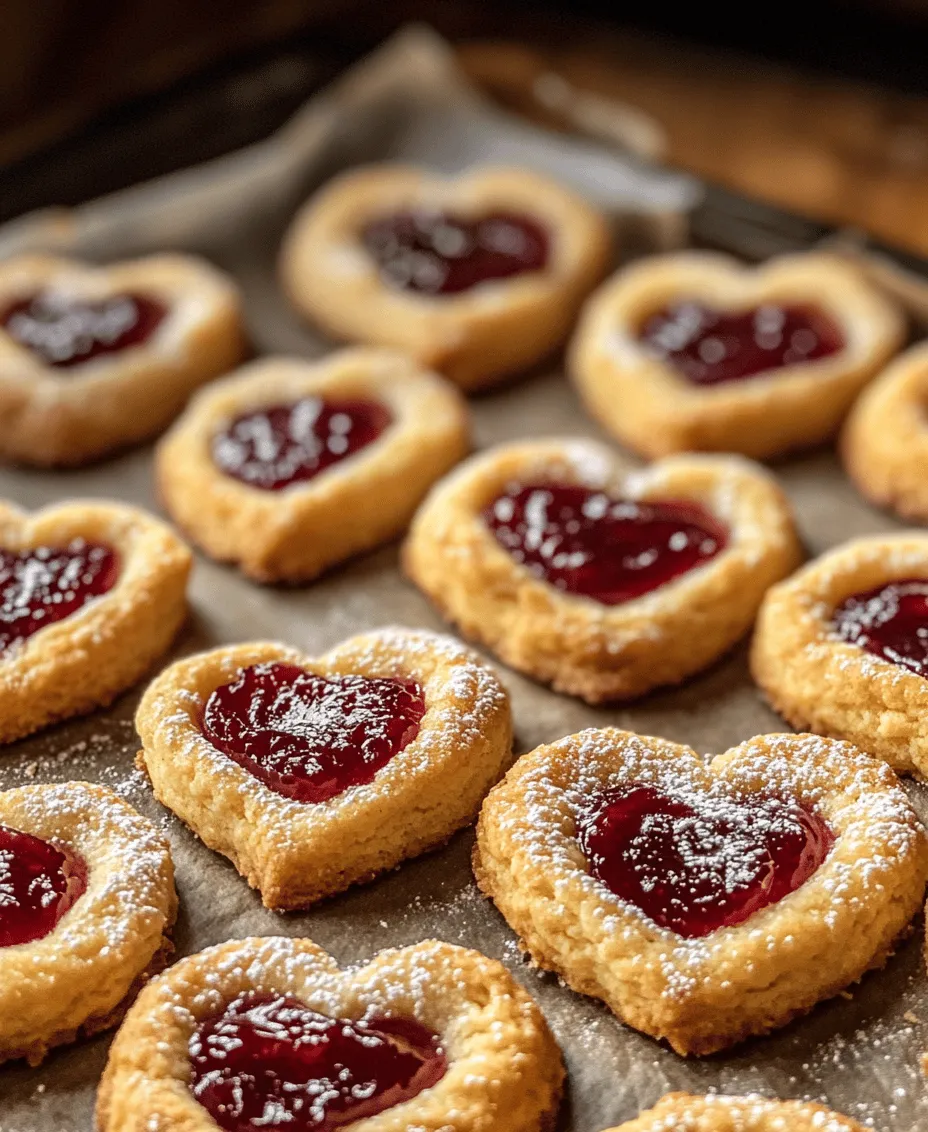
Thumbprint cookies are a beloved classic in the world of baking, known for their delightful combination of a tender cookie base and a luscious fruit filling. Their charm lies not only in their taste but also in their unique appearance—especially when shaped into hearts. Heart-shaped thumbprint cookies are particularly appealing for special occasions such as Valentine’s Day, anniversaries, or even just to brighten a loved one’s day. They serve as a perfect token of affection, showcasing the thoughtfulness and creativity that goes into homemade treats.
What makes these cookies even more special is the ability to personalize them. By choosing different jams or fillings, you can create a unique flavor profile that resonates with the recipient’s tastes. Additionally, the act of baking these cookies can be a wonderful bonding experience, whether you’re making them for a partner, family, or friends. The love and care poured into each heart-shaped cookie truly make them a heartfelt gift that anyone would cherish.
The Allure of Thumbprint Cookies
Thumbprint cookies are characterized by their signature indented center, which is typically filled with a variety of jams, chocolates, or even nut butters. This simple yet effective design not only adds visual appeal but also allows for endless flavor combinations. The classic cookie base is soft, buttery, and slightly crisp on the edges, creating a lovely contrast with the gooey filling at the center.
Historically, thumbprint cookies have roots in various cultures, with similar recipes found in many countries. They are known as “hallongrotta” in Sweden, which translates to “raspberry cave,” highlighting their delicious fruit filling. Variations abound, from the Italian “biscotti all’amarena” filled with sour cherry preserves to the Jewish “hamantaschen,” which is pinched at the edges rather than indented. The versatility of thumbprint cookies allows home bakers to experiment and adapt recipes based on personal preferences and available ingredients.
The heart shape holds a significant place in baking and gifting, symbolizing love, affection, and warmth. When you bake heart-shaped thumbprint cookies, you’re not just creating a delicious treat; you’re also sending a message of love and care. Whether they’re presented in a decorative tin or arranged on a beautiful platter, these cookies are sure to make the recipient feel special and appreciated.
Key Ingredients for Heart-Shaped Thumbprint Cookies
To create the perfect heart-shaped thumbprint cookies, it’s essential to understand the role of each ingredient in the recipe. Here’s a breakdown of the key ingredients that contribute to the delightful flavor and texture of these cookies:
– Unsalted Butter: The cornerstone of any cookie recipe, unsalted butter is crucial for achieving the right texture and flavor. It provides a rich, creamy base that contributes to the cookies’ tenderness. Using unsalted butter allows you to control the overall saltiness of the dough.
– Granulated Sugar and Brown Sugar: A combination of granulated and brown sugar is used in this recipe to balance sweetness and moisture. Granulated sugar helps to create a crisp texture, while brown sugar adds depth of flavor and a hint of moisture due to its molasses content. This combination results in cookies that are both chewy and tender.
– Eggs: Eggs play a vital role in binding the ingredients together, providing structure and stability to the cookies. The proteins in the eggs help the cookies hold their shape during baking while contributing to their overall richness.
– Vanilla Extract: A splash of vanilla extract enhances the flavor profile of the cookies, adding warmth and depth. It complements the sweetness of the sugars and the richness of the butter, making each bite even more delightful.
– All-Purpose Flour: This is the base of the cookie dough, providing the necessary structure. All-purpose flour is versatile and ideal for most baking needs, ensuring that the cookies have a light yet sturdy texture.
– Baking Powder: As a leavening agent, baking powder helps the cookies rise slightly and achieve a light, airy texture. It ensures that the cookies don’t become too dense and instead have a pleasant bite.
– Salt: A small amount of salt is essential for balancing the sweetness of the cookies. It enhances the overall flavor and ensures that the cookies taste well-rounded.
– Fruit Jam: The star of the show, fruit jam adds a burst of flavor to the cookies. You can choose from a variety of jams, such as strawberry, raspberry, apricot, or even chocolate spread for a modern twist. The filling not only provides sweetness but also a beautiful contrast to the buttery cookie.
– Optional Powdered Sugar: For an extra touch of sweetness and visual appeal, powdered sugar can be dusted over the finished cookies. It adds a lovely aesthetic and a hint of sweetness that elevates the overall experience.
Preparation Steps for Perfect Thumbprint Cookies
Now that you’re familiar with the key ingredients, let’s delve into the preparation steps for crafting these irresistible heart-shaped thumbprint cookies. Following these detailed instructions will ensure that your cookies turn out perfectly every time.
Step 1: Gather Your Ingredients
Before you start baking, make sure you have all your ingredients ready. This will streamline the process and help you avoid any last-minute trips to the pantry. Gather unsalted butter, granulated sugar, brown sugar, eggs, vanilla extract, all-purpose flour, baking powder, salt, and your choice of fruit jam.
Step 2: Preheat the Oven
Preheating your oven is crucial for even baking. Set your oven to 350°F (175°C) and allow it to preheat while you prepare the cookie dough. This step ensures that your cookies will bake evenly and achieve the perfect texture.
Step 3: Cream the Butter and Sugars
In a large mixing bowl, combine the softened unsalted butter, granulated sugar, and brown sugar. Using an electric mixer, cream the mixture on medium speed until it becomes light and fluffy. This process usually takes about 2-3 minutes. The air incorporated during this step will contribute to the cookies’ light texture.
Step 4: Add the Eggs and Vanilla
Once the butter and sugars are well combined, add in the eggs one at a time, mixing well after each addition. Then, pour in the vanilla extract and continue to mix until everything is fully incorporated. The mixture should be smooth and creamy.
Step 5: Combine Dry Ingredients
In a separate bowl, whisk together the all-purpose flour, baking powder, and salt. This step ensures that the leavening agent and salt are evenly distributed throughout the flour, resulting in a uniform dough.
Step 6: Gradually Incorporate Dry Ingredients
With your mixer on low speed, gradually add the dry ingredient mixture to the wet ingredients. Mix just until the dough comes together; be careful not to overmix. Overmixing can lead to tough cookies, so stop as soon as you no longer see any dry flour.
Step 7: Chill the Dough (Optional)
While chilling the dough is not mandatory, doing so can enhance the flavor and texture of your cookies. If you have time, wrap the dough in plastic wrap and refrigerate for at least 30 minutes. This step allows the flavors to meld and makes the dough easier to handle.
Step 8: Shape the Cookies
After chilling, preheat your oven again if necessary. Line a baking sheet with parchment paper. Using a cookie scoop or your hands, portion out small amounts of dough and roll them into balls, about 1 inch in diameter. Place the dough balls on the prepared baking sheet, spacing them about 2 inches apart.
Step 9: Create the Heart Shape
To create the heart shape, use your thumb to gently press down in the center of each dough ball, forming an indentation. You can also use a small heart-shaped cookie cutter to help guide your thumb for a more defined shape. Make sure the indentation is deep enough to hold the jam but not so deep that it reaches the bottom of the cookie.
Step 10: Fill with Jam
Using a teaspoon or a piping bag, fill each indentation with your choice of fruit jam. Be careful not to overfill, as the jam can bubble over during baking. A small amount will suffice, allowing the cookies to bake beautifully without spilling over.
Step 11: Bake the Cookies
Transfer the baking sheet to the preheated oven and bake for 12-15 minutes, or until the edges are lightly golden. Keep an eye on them to prevent overbaking; you want the centers to remain soft and chewy.
Step 12: Cool and Dust with Powdered Sugar
Once baked, remove the cookies from the oven and let them cool on the baking sheet for a few minutes before transferring them to a wire rack to cool completely. If desired, dust the cooled cookies with powdered sugar for a lovely finishing touch.
With these steps, you’re well on your way to creating delicious heart-shaped thumbprint cookies that are sure to impress. These cookies are not only a treat for the taste buds but also a heartfelt gift that embodies the spirit of love and creativity in baking. Whether for a special occasion or just a sweet surprise, these irresistible cookies are bound to bring joy to anyone who enjoys them. Stay tuned for more tips and ideas on how to elevate your thumbprint cookie experience!
Step-by-Step Breakdown of the Recipe
Creating irresistible heart-shaped thumbprint cookies is a delightful process that showcases both creativity and baking skill. Each step is designed to build flavor and texture, leading to cookies that are not only visually appealing but also delicious. Let’s dive into the detailed instructions.
Preheating the Oven and Preparing Baking Sheets
Before you begin mixing your ingredients, the first step is to preheat your oven to 350°F (175°C). This ensures that your cookies bake evenly. While the oven is heating, line two baking sheets with parchment paper. This will prevent the cookies from sticking and make for easier cleanup. If you prefer, you can also use silicone baking mats, which are reusable and provide a non-stick surface.
Creaming Butter and Sugars: Importance of This Step for Texture
In a large mixing bowl, cream together 1 cup of softened unsalted butter and 3/4 cup of granulated sugar. Use an electric mixer on medium speed until the mixture is light and fluffy—this usually takes about 2 to 3 minutes. The importance of this step cannot be overstated; creaming the butter and sugar incorporates air into the batter, resulting in a lighter texture for your cookies. Once your mixture is fluffy, add in 3/4 cup of packed brown sugar and continue mixing until well combined.
Mixing in Eggs and Vanilla: Tips on Ensuring Even Incorporation
Next, add in 2 large eggs, one at a time, mixing well after each addition to ensure they are thoroughly incorporated. Follow this with 1 teaspoon of pure vanilla extract. It’s crucial to mix these wet ingredients at a low speed to avoid splattering, ensuring even incorporation into the creamed butter and sugars. The addition of eggs not only adds moisture but also contributes to the chewy texture of the finished cookies.
Combining Dry Ingredients: Importance of Not Overmixing
In a separate bowl, whisk together 2 cups of all-purpose flour, 1 teaspoon of baking powder, and a pinch of salt. Gradually add the dry ingredients to the wet mixture, mixing on low speed until just combined. Be careful not to overmix, as this can lead to tough cookies. The dough should be soft and slightly sticky but manageable enough to shape.
Shaping Cookies: Techniques for Uniformity and Spacing
Once your dough is ready, it’s time to shape the cookies. Using a cookie scoop or your hands, portion out about 1 tablespoon of dough for each cookie. Roll the dough into balls and place them on the prepared baking sheets, leaving about 2 inches of space between each cookie to allow for spreading during baking. This spacing is essential to ensure that the cookies don’t merge into one another.
Creating the Thumbprint: Perfecting the Indentation for Jam
To create the signature thumbprint, gently press your thumb into the center of each cookie ball, making an indentation deep enough to hold the jam but not so deep that it reaches the bottom. The technique is crucial; a well-formed thumbprint will hold just the right amount of filling. If your cookie dough is too sticky to handle, lightly flour your hands or the thumb before pressing.
Adding Jam: How to Choose and Measure the Right Amount
For the fillings, you can choose your favorite jam or preserves. Popular choices include raspberry, strawberry, and apricot, but the flavor is entirely up to you. Aim for about 1 teaspoon of jam per cookie; this amount will fill the indentation without overflowing. You can use a small spoon or a piping bag for more precision. If you’re feeling adventurous, consider mixing flavors or using a combination of jams for a unique twist.
Baking Tips: Signs to Look for to Determine Doneness
Place the baking sheets in the preheated oven and bake for 12 to 15 minutes, or until the edges are lightly golden. Keep an eye on them; the cookies will continue to firm up as they cool. A good sign of doneness is a slight puffing of the cookie, and the centers should look set but not overly browned. Remember, cookies will continue to cook slightly after being removed from the oven due to residual heat.
Cooling and Dusting: How to Achieve the Perfect Finish
Once baked, remove the cookies from the oven and let them cool on the baking sheets for about 5 minutes before transferring them to a cooling rack. This allows them to firm up a bit more, preventing breakage. For an elegant finish, consider dusting the cooled cookies lightly with powdered sugar. This not only adds a touch of sweetness but also enhances their visual appeal.
Baking Variations and Flavor Combinations
Now that you’ve mastered the classic heart-shaped thumbprint cookies, let’s explore some exciting variations and flavor combinations.
Suggestions for Alternative Jams and Fillings
While traditional fruit jams are a favorite, you can also experiment with other fillings. Chocolate ganache makes for a rich, decadent option. Simply melt chocolate with heavy cream, let it cool slightly, and use it in place of jam. Nut butters, such as almond or peanut butter, can also serve as a delightful filling. For a twist, try using lemon curd or coconut cream for a tropical flair.
Ideas for Incorporating Spices or Extracts
To elevate the flavor profile of your cookies, consider adding spices or extracts. A dash of cinnamon or nutmeg can enhance the warmth of the cookies, while a teaspoon of almond extract can add a lovely depth. Vanilla and chocolate combinations are also a sure hit—try swirling in some cocoa powder into half of the dough for a marbled effect.
Options for Dietary Modifications
If you need to accommodate dietary restrictions, you can easily modify this recipe. For gluten-free cookies, substitute all-purpose flour with a 1:1 gluten-free flour blend. To make these cookies vegan, replace the eggs with flax eggs (1 tablespoon of ground flaxseed mixed with 3 tablespoons of water per egg) and use a plant-based butter alternative. Ensure that your jam is also vegan-friendly.
Serving Suggestions and Presentation Ideas
Once your cookies are ready, presenting them beautifully can enhance the experience. Here are some creative serving suggestions.
How to Elegantly Present Thumbprint Cookies for Gifting
For gifting, arrange your heart-shaped thumbprint cookies on a decorative platter or in a cookie box. You can line the box with colorful tissue paper or wax paper to make it visually appealing. Consider adding a handwritten note to personalize the gift, making it even more special.
Pairing Ideas
These cookies pair wonderfully with a variety of beverages. Serve them alongside a warm cup of tea or coffee for a delightful afternoon treat. For a more sophisticated pairing, consider serving with dessert wine, which complements the sweetness of the cookies beautifully.
Creative Packaging Options for Special Occasions
If you’re preparing these cookies for a special occasion, like Valentine’s Day or anniversaries, think about themed packaging. Use heart-shaped boxes or decorative bags tied with ribbons. You can also include a small card with a personal message to add an extra touch of love.
Conclusion
Making heart-shaped thumbprint cookies is not just a baking task; it’s an opportunity to create something special that brings joy to yourself and those around you. The simplicity of the recipe, combined with the ability to experiment with flavors and shapes, makes it a delightful experience for bakers of all levels.
The emotional connection that baked goods foster is profound; they often evoke memories of shared moments and celebrations. Whether you’re making these cookies for a loved one, a gathering, or simply for yourself, they serve as a reminder of the warmth and love that food can convey. So gather your ingredients, follow these steps, and let your creativity shine. Enjoy every bite, and don’t forget to share your delicious creations with those you cherish.