
Introduction
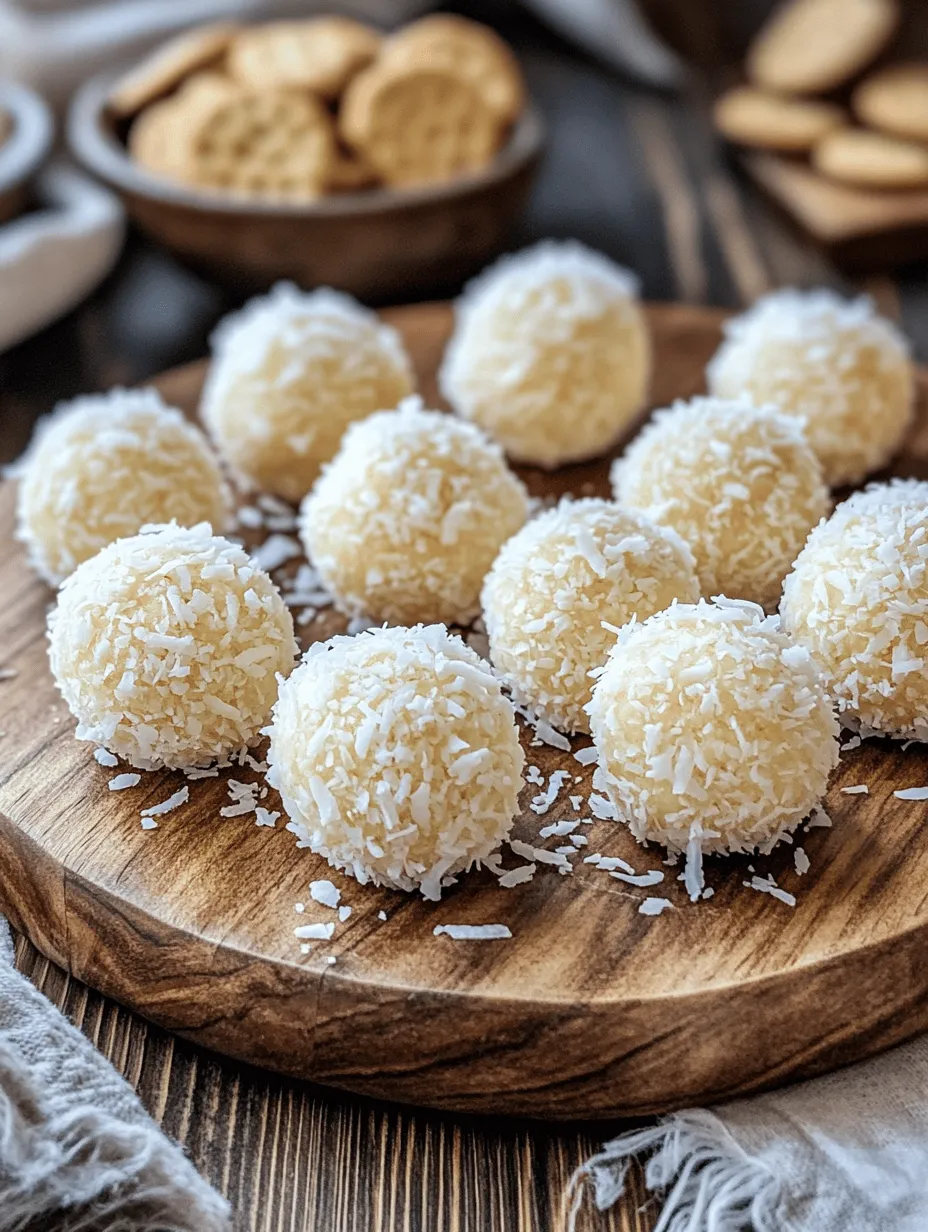
If you’re looking for a quick and delicious dessert that requires minimal effort, look no further than Easy Coconut Condensed Milk Balls. This delightful no-bake treat is perfect for busy lifestyles, offering a sweet escape without the need for extensive baking or cooking. In a world where time is often limited, no-bake desserts have surged in popularity. They provide indulgent flavors and satisfying textures without the fuss of traditional baking methods.
Coconut, a star ingredient in this recipe, is not only renowned for its tropical flavor but also its versatility. Whether shredded, flaked, or in milk form, coconut can elevate a dish and bring a touch of paradise to your palate. The subtle sweetness and nutty notes of coconut blend beautifully with the rich creaminess of sweetened condensed milk, creating a decadent dessert that is simple yet satisfying.
Sweetened condensed milk is key in this recipe, contributing a velvety richness and enhancing the overall flavor profile. Its natural sweetness reduces the need for additional sugars while ensuring the coconut balls have a delightful, melt-in-your-mouth quality. Whether you’re preparing for a special occasion or just want to treat yourself, these Coconut Condensed Milk Balls will surely impress.
Understanding the Ingredients
Shredded Coconut
At the heart of this recipe is shredded coconut, which adds texture, flavor, and a tropical flair. Shredded coconut comes in different forms, including sweetened and unsweetened, each offering a unique experience. Sweetened shredded coconut is often used in desserts like our Coconut Condensed Milk Balls, as it enhances the overall sweetness of the dish, making it a hit with both kids and adults alike.
When selecting shredded coconut, you might wonder about the nutritional benefits. Coconut is a rich source of dietary fiber and healthy fats. The medium-chain triglycerides (MCTs) found in coconut can provide a quick source of energy. Additionally, coconut contains essential minerals like manganese, copper, and selenium, contributing to overall health.
Sweetened vs. Unsweetened Coconut
Understanding the difference between sweetened and unsweetened coconut is crucial for achieving the desired flavor in your Coconut Condensed Milk Balls. Sweetened coconut features added sugar, making it perfect for desserts, while unsweetened coconut has a more natural coconut flavor without the extra sweetness. While you can use unsweetened coconut in this recipe, you may need to adjust the sugar levels to balance the flavors.
Sweetened Condensed Milk
Sweetened condensed milk plays a pivotal role in this dessert, acting as a binding agent and a primary source of sweetness. This thick, syrupy milk is made by removing most of the water from regular milk and adding sugar, resulting in a rich and creamy product. Its uses extend beyond desserts; it can also enrich beverages and savory dishes, making it a staple in many kitchens.
For those with dietary considerations, such as lactose intolerance or a desire to avoid dairy, several alternatives to sweetened condensed milk are available. Coconut milk or almond milk can be sweetened and thickened to mimic the texture and flavor of traditional sweetened condensed milk, allowing everyone to enjoy these delicious coconut balls.
Graham Crackers or Digestive Biscuits
Another key ingredient in this recipe is graham crackers or digestive biscuits, which provide a crunchy texture and balance the soft, creamy coconut filling. These ingredients not only add flavor but also help to bind the mixture, creating a cohesive and delightful treat. If you prefer gluten-free options, look for gluten-free graham crackers or biscuits, which are widely available in stores.
Flavor Enhancers: Vanilla Extract and Salt
To enhance the flavors of your Coconut Condensed Milk Balls, a splash of vanilla extract and a pinch of salt are essential. The vanilla extract adds depth and warmth, while salt helps to balance sweetness and elevate the overall flavor profile. These ingredients, though small, play a crucial role in creating a well-rounded dessert that will leave your taste buds wanting more.
Step-by-Step Instructions
Mixing the Ingredients
Now that we’ve covered the essential ingredients, it’s time to dive into the step-by-step process of creating these delightful Coconut Condensed Milk Balls. Begin by gathering all your ingredients and equipment. You will need a large mixing bowl, a spatula or wooden spoon for mixing, and a tray lined with parchment paper for setting the coconut balls.
1. Combine the Dry Ingredients: Start by placing the shredded coconut and crushed graham crackers or digestive biscuits into the mixing bowl. This combination will form the base of your coconut balls. Mix them thoroughly to ensure an even distribution of ingredients.
2. Add Sweetened Condensed Milk: Next, pour in the sweetened condensed milk. The amount you use will depend on the texture you desire; typically, around one can (14 ounces) is perfect. Use your spatula or wooden spoon to blend the mixture, ensuring that the dry ingredients are evenly coated with the condensed milk.
3. Incorporate Flavor Enhancers: Add the vanilla extract and a pinch of salt to the mixture. The vanilla will lend a warm, aromatic quality to the coconut balls, making them even more irresistible. The salt may seem counterintuitive in a dessert, but it is essential for balancing the sweetness and enhancing the overall flavor.
4. Achieving the Right Consistency: As you mix, you want to achieve a thick, sticky consistency that holds together well. If the mixture is too dry, add a bit more sweetened condensed milk until it reaches the desired texture. Conversely, if it’s too wet, you can mix in additional crushed graham crackers or shredded coconut.
Forming the Coconut Balls
Once your mixture is well combined and reaches the right consistency, it’s time to shape the coconut balls.
1. Prepare for Rolling: Before you begin rolling, it’s helpful to lightly grease your hands with a bit of coconut oil or cooking spray. This step will prevent the mixture from sticking to your hands, allowing you to roll the balls smoothly.
2. Rolling Uniform Balls: Take a small amount of the mixture (about 1 tablespoon) and roll it into a ball shape between your palms. Aim for uniformity to ensure even cooking and presentation. If you prefer larger or smaller balls, feel free to adjust the size; just keep in mind that cooking time may vary slightly.
3. Importance of Hand Temperature: While rolling, be mindful of your hand temperature. If your hands are too warm, the coconut balls may become overly sticky, making it challenging to shape them. If you find the mixture sticking too much, consider chilling it in the refrigerator for 10-15 minutes before proceeding with the rolling step.
Coating the Coconut Balls
To finish your Coconut Condensed Milk Balls, you can choose to coat them for added texture and visual appeal.
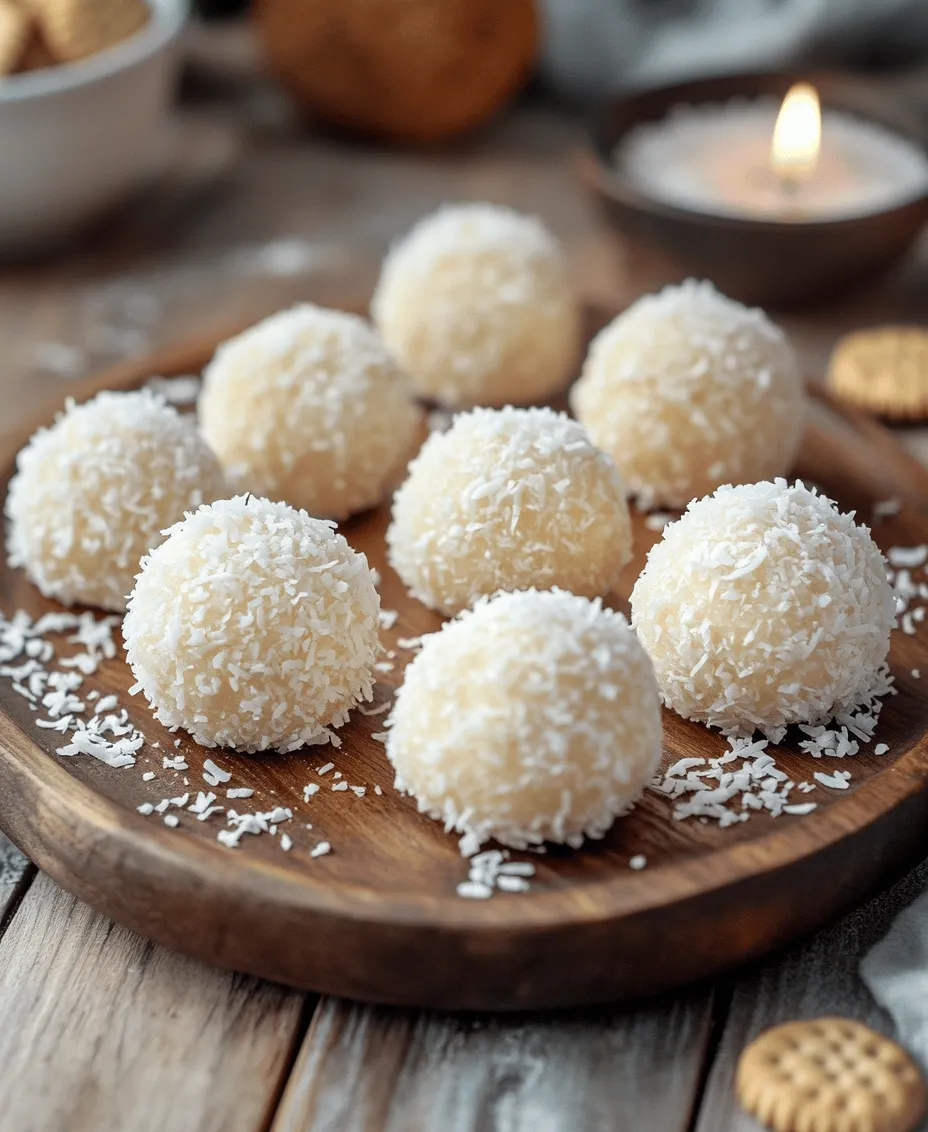
1. Coating Options: You can roll the coconut balls in additional shredded coconut for a classic look, or get creative with other coatings like crushed nuts, cocoa powder, or even sprinkles. Each coating will add a unique flavor and texture, so feel free to experiment with what you have on hand.
2. Storing the Coconut Balls: Once coated, place the coconut balls on your lined tray. They can be enjoyed immediately, but for the best flavor and texture, it’s recommended to refrigerate them for at least 30 minutes. Chilling allows them to set and firm up, enhancing the overall experience.
By following these steps, you will have created a batch of delightful Coconut Condensed Milk Balls that are perfect for any occasion. Enjoy the process, and savor the delicious results!
Best Practices for Rolling in Shredded Coconut
When it comes to rolling your coconut condensed milk balls in shredded coconut, achieving an even coating can elevate the presentation and flavor. Here are some best practices to follow:
1. Use Fresh Shredded Coconut: Opt for unsweetened shredded coconut for a natural taste that complements the sweetness of the condensed milk. Fresh coconut has a superior texture and flavor compared to pre-packaged varieties.
2. Moisten Your Hands: Lightly dampening your hands with water or a little coconut oil prevents the mixture from sticking to your fingers. This makes rolling the balls easier and keeps the coconut from clumping.
3. Roll Evenly: Take a small portion of the mixture and roll it into a ball between your palms. Aim for a uniform size to ensure even cooking and presentation. Once you have formed the ball, gently roll it in the shredded coconut until fully coated.
4. Press Gently: When rolling in shredded coconut, press gently to help the coconut adhere to the ball. This technique ensures that the coating stays intact during handling and serving.
Options for Additional Coatings
While shredded coconut is the traditional coating for these treats, you can experiment with various options to suit your taste preferences:
1. Chocolate Coating: For a decadent twist, melt dark, milk, or white chocolate and dip the coconut balls into the chocolate, allowing any excess to drip off. This not only adds flavor but also enhances the visual appeal of the dessert.
2. Nuts and Seeds: Roll the balls in finely chopped nuts such as almonds, walnuts, or pistachios for added crunch and flavor. You can also use seeds like sesame or chia for a unique texture.
3. Cocoa Powder or Matcha: For a different aesthetic, consider rolling some coconut balls in cocoa powder for a rich chocolate flavor or matcha powder for a vibrant green color. Both options provide a delightful contrast to the sweetness of the coconut.
Chilling for Best Results
Chilling is a crucial step in achieving the perfect texture and flavor in your coconut condensed milk balls.
Explanation of Why Chilling is Essential
1. Firmness: Chilling the balls helps them firm up, making them easier to handle without losing their shape. The cold temperature ensures that they maintain their round form, especially after rolling in coatings.
2. Flavor Development: Allowing the balls to chill enhances the flavors as the ingredients meld together. This resting period can make a significant difference in the overall taste.
3. Easier Coating: If you’ve opted for a chocolate coating, chilling the coconut balls will help the chocolate set more quickly, providing a smoother finish and preventing the chocolate from dripping off.
Ideal Storage Methods and Duration
To keep your coconut condensed milk balls fresh and delicious, follow these storage tips:
1. Refrigeration: Store the coconut balls in an airtight container in the refrigerator. They can last for about 1 to 2 weeks, depending on the freshness of the ingredients used.
2. Freezing: For longer storage, consider freezing the balls. Arrange them in a single layer on a baking sheet until solid, then transfer them to an airtight container or freezer bag. They can be stored in the freezer for up to 3 months. Just thaw them in the refrigerator before serving.
3. Labeling: If you freeze your coconut balls, label the container with the date and contents. This will help you keep track of how long they’ve been stored.
Serving Suggestions
Presenting your coconut condensed milk balls beautifully can make them even more appealing. Here are some serving ideas:
1. Plating Options for Parties and Gatherings: Arrange the coconut balls on a decorative platter, varying the height and angle for visual interest. You can garnish the platter with fresh mint leaves or edible flowers to enhance the aesthetic.
2. Pairing Ideas with Beverages: These coconut balls pair wonderfully with both hot and cold beverages. Serve them alongside a rich cup of coffee, a refreshing iced tea, or even a coconut-flavored smoothie for a cohesive tropical theme.
3. Versatile Uses of the Coconut Balls: Beyond serving them as a stand-alone treat, consider incorporating them into dessert platters. They make a delightful addition to cheese boards, fruit platters, or as part of a dessert buffet during celebrations.
4. Snack Options for Kids and Adults: These coconut balls are perfect as a nutritious snack for kids and adults alike. They’re easy to grab on the go and provide a satisfying combination of flavors and textures.
5. Inclusion in Gift Baskets: Package your coconut condensed milk balls in decorative boxes or jars to create homemade gifts. They make thoughtful additions to holiday gift baskets or as party favors.
Nutritional Information
Understanding the nutritional profile of your coconut condensed milk balls can help you enjoy them mindfully.
1. Overview of Nutritional Values per Serving: Each coconut ball contains a balance of carbohydrates, healthy fats, and a small amount of protein. Typically, a serving (one ball) might contain around 100 calories, 6g of fat, 10g of carbohydrates, and 0.5g of protein, depending on specific ingredients used.
2. Discussion on Portion Control and Balance in Desserts: While these coconut balls are a sweet treat, practicing portion control is important. Enjoying one or two at a time allows you to indulge without overindulging.
3. Insights into the Health Benefits of Coconut: Coconut is not only delicious but also offers several health benefits. It is rich in medium-chain triglycerides (MCTs), which can provide quick energy and promote weight management. Additionally, coconut contains fiber, which aids digestion and promotes a feeling of fullness.
Variations and Customizations
One of the best aspects of making coconut condensed milk balls is the ability to customize them to your liking. Here are some ideas:
1. Suggested Flavor Variations: Experiment with flavors by incorporating different extracts. Try adding almond extract for a nutty twist or vanilla extract for a classic touch.
2. Incorporating Different Extracts: A few drops of peppermint or orange extract can transform the flavor profile of your coconut balls, making them festive for different occasions.
3. Adding Mix-Ins: Boost nutrition and flavor by mixing in finely chopped nuts, dried fruits, or even chocolate chips to the base mixture before rolling them into balls.
4. Dietary Adaptations: For those with dietary restrictions, there are plenty of ways to make these coconut balls accommodating.
– Vegan and Dairy-Free Modifications: Use vegan condensed milk alternatives, such as those made from almond or cashew, to maintain the creaminess without dairy.
– Low-Sugar Options: For a healthier version, replace the sweetened condensed milk with unsweetened coconut cream or a sugar-free alternative, adjusting the sweetness to taste.
Conclusion
Creating coconut condensed milk balls is not only simple but also incredibly satisfying. The ease of preparation combined with the delightful flavor and texture makes these no-bake treats a joy to make at home. With the ability to customize flavors and coatings, you can tailor them to your personal tastes and dietary needs.
We encourage you to experiment with different variations and share your creations with family and friends. The satisfaction of making delicious and visually appealing desserts at home is unmatched. So gather your ingredients, get rolling, and enjoy the sweet taste of your homemade coconut condensed milk balls!