
Introduction
There’s something undeniably nostalgic about Rice Krispie treats that evokes memories of childhood kitchens filled with laughter and the sweet scent of melting marshmallows. Traditionally made with just three ingredients—Rice Krispies cereal, melted marshmallows, and butter—these classic snacks have won hearts for generations. They are simplicity itself, making them a go-to recipe for busy parents, party hosts, and anyone looking for a quick and satisfying treat.
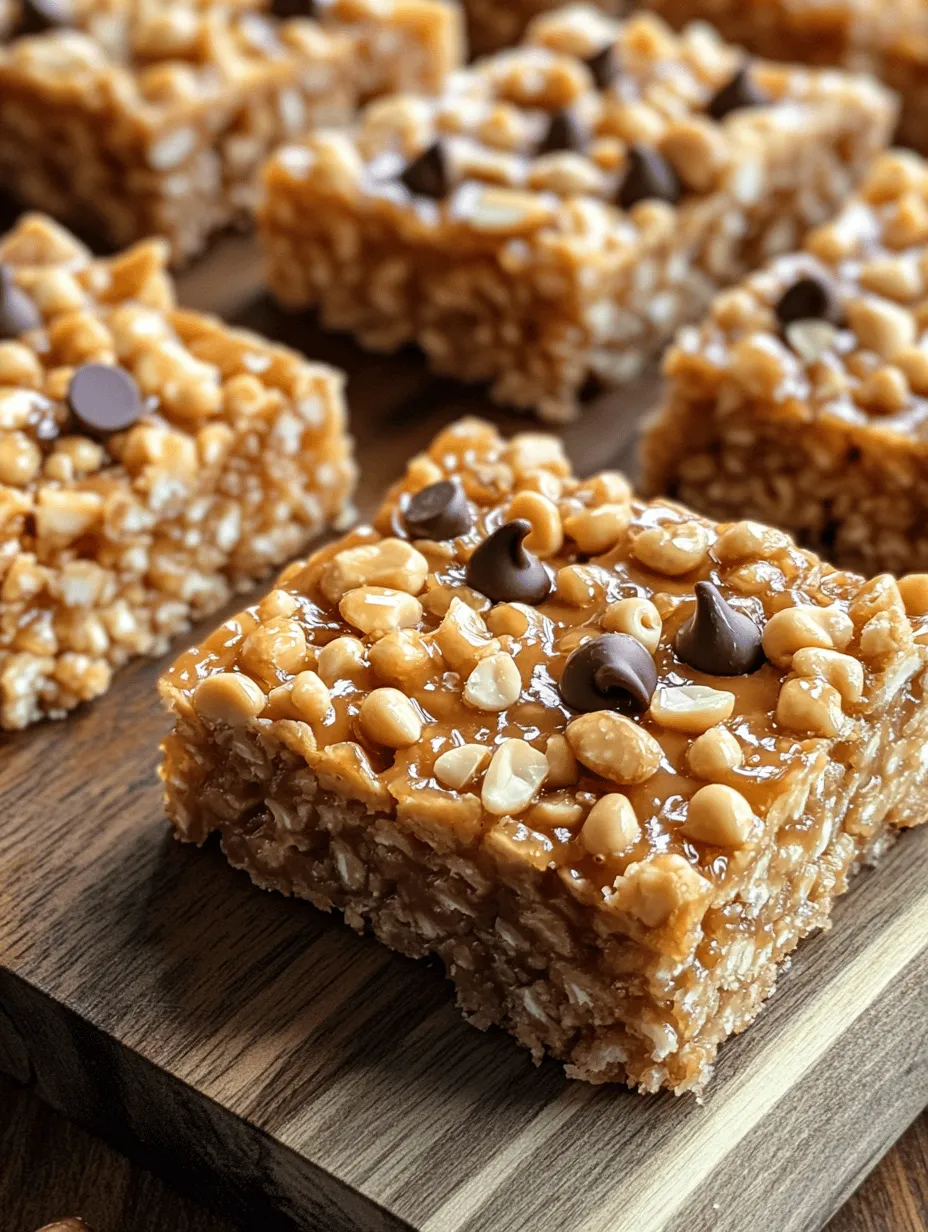
However, if you want to elevate this beloved classic, adding peanut butter transforms it into a sensational delight. Irresistible Peanut Butter Rice Krispie Bars combine the crispy texture of Rice Krispies with the rich, creamy goodness of peanut butter, providing a flavor explosion that’s hard to resist. Whether you’re a peanut butter fanatic or a casual snacker, this treat promises to satisfy your cravings while offering a unique twist on an old favorite.
Beyond their incredible taste, these bars are incredibly easy to whip up. With just a handful of ingredients and minimal prep time, they are perfect for cooks of all ages. Whether you’re looking to get your kids involved in the kitchen or simply want a speedy dessert to impress guests, this recipe is designed for success. Let’s dive deeper into the ingredients and the steps involved in creating these scrumptious bars.
Understanding the Ingredients
Before diving into the preparation, it’s important to understand the key ingredients that make up these Irresistible Peanut Butter Rice Krispie Bars. Each component plays a crucial role in achieving the perfect balance of flavor and texture.
Rice Krispies Cereal
At the heart of this recipe lies Rice Krispies cereal. This iconic cereal has gained a reputation not only for its delicious crunch but also for its versatility in desserts. The airy texture of Rice Krispies provides a perfect base for the bars, ensuring that they are light yet satisfying. Their ability to absorb flavors while maintaining their structure makes them a staple in a variety of no-bake treats. The classic snap, crackle, and pop is just an added bonus!
Creamy Peanut Butter
Next up is the star ingredient—creamy peanut butter. Not only does it add an alluring nutty flavor, but it also brings a wealth of nutritional benefits. Peanut butter is a good source of protein and healthy fats, making it a filling option for snacks or desserts. The richness of the peanut butter enhances the overall flavor profile of the bars, providing a delightful contrast to the sweetness of the marshmallows. Whether you prefer smooth or crunchy peanut butter, either can work in this recipe, though smooth is recommended for a consistent texture.
Honey vs. Maple Syrup
When it comes to sweeteners, you have options! Honey and maple syrup are both fantastic choices for this recipe. Honey adds a distinct floral sweetness that pairs beautifully with peanut butter, while maple syrup brings a warm, earthy flavor. Both options will yield a delicious result, though they may slightly alter the texture of the bars. Honey tends to create a chewier, more cohesive texture, while maple syrup can introduce a bit more softness. Experiment with both to find your favorite!
Brown Sugar
Adding brown sugar to the mix enhances both the flavor and moisture content of the bars. The molasses in brown sugar provides a deep, caramel-like taste that complements the peanut butter beautifully. This ingredient not only contributes to the sweetness but also helps achieve that wonderfully chewy texture that makes these bars so irresistible.
Vanilla Extract and Salt
Though they may seem like small additions, vanilla extract and a pinch of salt are essential for balancing flavors. Vanilla extract adds a warm, aromatic quality that elevates the overall taste of the bars. Meanwhile, salt enhances sweetness and brings out the rich flavors of peanut butter, creating a well-rounded treat.
Optional Ingredients
For those looking to customize their bars, optional ingredients like chocolate chips or chopped nuts can add an exciting crunch and flavor boost. Chocolate chips provide a delightful melty texture that pairs perfectly with the peanut butter, while nuts offer a satisfying crunch that enhances the overall experience. Feel free to mix and match according to your preferences!
Step-by-Step Instructions
Creating these Irresistible Peanut Butter Rice Krispie Bars is simple and quick, making it a perfect treat for any occasion. Follow these detailed steps to ensure that your bars turn out perfectly every time.
Preparing the Baking Dish
The first step in making your Rice Krispie bars is preparing your baking dish. A 9×13-inch dish is ideal for this recipe, providing the perfect size for cutting the bars into manageable pieces.
Importance of Using Parchment Paper for Easy Removal
To ensure easy removal of the bars after they’ve set, line your baking dish with parchment paper. This will prevent the mixture from sticking, allowing for a clean lift once they are cooled. Leave a bit of an overhang on the sides, which will give you handles to pull the bars out easily.
Tips for Greasing the Dish Effectively
If you don’t have parchment paper, greasing the dish with a generous layer of cooking spray or butter can also work. Be sure to cover all corners and edges to facilitate easy removal. However, for the best results and to minimize sticking, parchment paper is always recommended.
Melting the Mixture
Now that your baking dish is ready, it’s time to melt the mixture. In a medium saucepan over low to medium heat, combine your creamy peanut butter, honey (or maple syrup), brown sugar, and vanilla extract.
Perfect Temperature to Achieve a Smooth Consistency
Stir the mixture continuously as it heats, ensuring that everything melds together smoothly. It’s crucial to avoid high heat, as it can cause the mixture to burn or seize. The goal is to achieve a smooth, pourable consistency. Once the mixture is fully melted and combined, remove it from the heat. A perfectly melted mixture will bring out the rich flavors of the peanut butter and sugar, creating a delectable base for your bars.
The Role of Continuous Stirring in Preventing Burning
Continuous stirring is key during this step. It not only helps prevent the mixture from sticking to the bottom of the pan but also ensures that all ingredients are evenly incorporated. If you notice any signs of sticking or browning, reduce the heat immediately and continue stirring until you achieve a uniform mixture.
Combining with Cereal
Once your peanut butter mixture is ready, it’s time to combine it with the Rice Krispies cereal. Pour the melted mixture over the Rice Krispies in a large mixing bowl.
Techniques for Evenly Coating the Rice Krispies
Using a spatula or wooden spoon, gently fold the cereal into the peanut butter mixture. It’s important to be gentle during this step to avoid crushing the Rice Krispies. Aim for an even coating, ensuring that all the cereal is well covered with the delicious peanut butter mixture. If you’re adding optional ingredients like chocolate chips or nuts, this is the time to fold them in as well.
Make sure to mix until all the Rice Krispies are fully coated, and the mixture is evenly distributed. This will ensure that every bite of your finished bars is packed with flavor!
With these initial steps completed, you’re well on your way to creating a delightful batch of Irresistible Peanut Butter Rice Krispie Bars. The combination of textures and flavors will surely make this recipe a favorite among family and friends. Stay tuned for the final steps to finish these delicious treats!

Importance of Timing When Adding Mix-Ins for Optimal Melting
When making Irresistible Peanut Butter Rice Krispie Bars, timing is crucial, especially when it comes to incorporating mix-ins. Whether you are adding chocolate chips, mini marshmallows, or dried fruits, it’s essential to add these ingredients at the right moment. After melting the peanut butter and marshmallows to achieve a smooth, creamy consistency, remove the mixture from heat before folding in your chosen mix-ins. This step prevents the chips from melting completely and losing their shape, allowing for delightful pockets of sweetness in each bite. Stir gently to ensure even distribution without overmixing, which can lead to unwanted melting.
Pressing into the Dish
Once your mixture is well-combined, it’s time to transfer it into your prepared baking dish. This is where technique plays a significant role in ensuring the bars come out perfectly. Use a spatula or wooden spoon to scoop the mixture into the dish, spreading it evenly. To achieve a firm and even layer, gently press down on the mixture with the back of your spatula. Aim for a consistent thickness across the entire surface, which will help the bars hold together when cut.
The role of dampened hands cannot be overstated in this process. Lightly wetting your hands with warm water helps prevent the sticky mixture from adhering to your skin, allowing you to press down more firmly and evenly without making a mess. This simple trick can make a significant difference in achieving the desired texture.
Chilling and Cutting
After pressing the mixture into the dish, it’s time to chill the bars for optimal texture. Ideally, allow the bars to cool at room temperature for about 30 minutes before transferring them to the refrigerator. Chilling for an additional 1 to 2 hours will help solidify the bars, making them easier to cut and giving them a firm texture.
When it’s time to cut the bars, use a sharp knife or a pizza cutter for clean lines. If you find that the knife sticks, run it under hot water and dry it off before slicing. This technique helps achieve clean cuts without crumbling the bars. Depending on your preferred serving size, you can cut the bars into squares, rectangles, or even fun shapes with cookie cutters.
Serving Suggestions
Once your Irresistible Peanut Butter Rice Krispie Bars are cut and ready, the possibilities for serving are endless. These bars can be enjoyed as a delightful snack on their own, or you can elevate the experience by pairing them with a glass of milk or a cup of coffee. For a more indulgent treat, consider drizzling melted chocolate over the top or serving them alongside a scoop of vanilla ice cream.
If you’re hosting a gathering, these bars can make a great dessert option. Consider presenting them on a decorative platter, perhaps with fresh fruit or nuts on the side, allowing guests to mix and match.
Nutritional Information
When it comes to the nutritional content of your Peanut Butter Rice Krispie Bars, it’s essential to understand what you’re serving. Each bar typically contains a balance of carbohydrates, protein, and healthy fats, primarily due to the peanut butter.
Overview of Nutritional Content per Serving: Each serving (approximately one bar) contains around 150 calories, 7 grams of protein, and 8 grams of fat. The bars also provide a good source of energy, making them a perfect snack for both kids and adults.
Health Benefits of Peanut Butter: Peanut butter is not just delicious; it’s packed with nutrients. It is a good source of protein, which is essential for muscle repair and growth, and healthy fats that can help improve heart health. Additionally, it contains vitamins and minerals like magnesium, potassium, and vitamin E.
Modifying the Recipe for Dietary Preferences: If you have specific dietary requirements, the recipe can easily be adapted. For a vegan version, simply use maple syrup instead of honey and choose a dairy-free chocolate option. For those with gluten sensitivities, ensure your Rice Krispies are labeled gluten-free.
Storage and Shelf Life
To keep your Peanut Butter Rice Krispie Bars fresh and delicious, proper storage is key. After cutting the bars, place them in an airtight container. You can layer parchment paper between the bars to prevent sticking, which will help maintain their integrity.
Best Practices for Storing the Bars: Store the bars in a cool, dry place if you plan to consume them within a week. If you want to extend their shelf life, refrigeration can help, allowing them to last up to two weeks.
Signs of Spoilage: Always check for signs of spoilage before consuming. If you notice any unusual odors or mold, it’s best to discard the bars.
Creative Variations
One of the best features of Irresistible Peanut Butter Rice Krispie Bars is their versatility. You can easily customize the flavor profile to suit your palate or dietary needs.
Suggestions for Flavor Variations: Consider adding spices like cinnamon or nutmeg for a warm flavor twist. You can also mix in dried fruits such as cranberries or apricots for added texture and sweetness. For a nutty twist, try using flavored nut butters, such as almond or cashew butter, in place of the peanut butter.
Customizing Based on Personal Preferences: If you’re looking for a chocolatey version, adding cocoa powder to the peanut butter mixture can create a rich chocolate flavor. Alternatively, for a tropical twist, incorporating shredded coconut or chopped nuts can enhance the texture and taste.
Conclusion
Irresistible Peanut Butter Rice Krispie Bars are a delightful treat that combines the rich flavors of peanut butter and the satisfying crunch of Rice Krispies. They are not only easy to make but also adaptable to various tastes and dietary preferences. Whether you enjoy them as a quick snack, a dessert at gatherings, or a sweet treat to share with family and friends, these bars are sure to please everyone.
Encouraging you to try making these bars at home means you can enjoy the satisfaction of a homemade snack that is both delicious and versatile. So gather your ingredients, follow the steps, and treat yourself to this scrumptious homemade delight. Enjoy the process of creating something special with your loved ones, making memories that will last long after the last crumb is gone.