
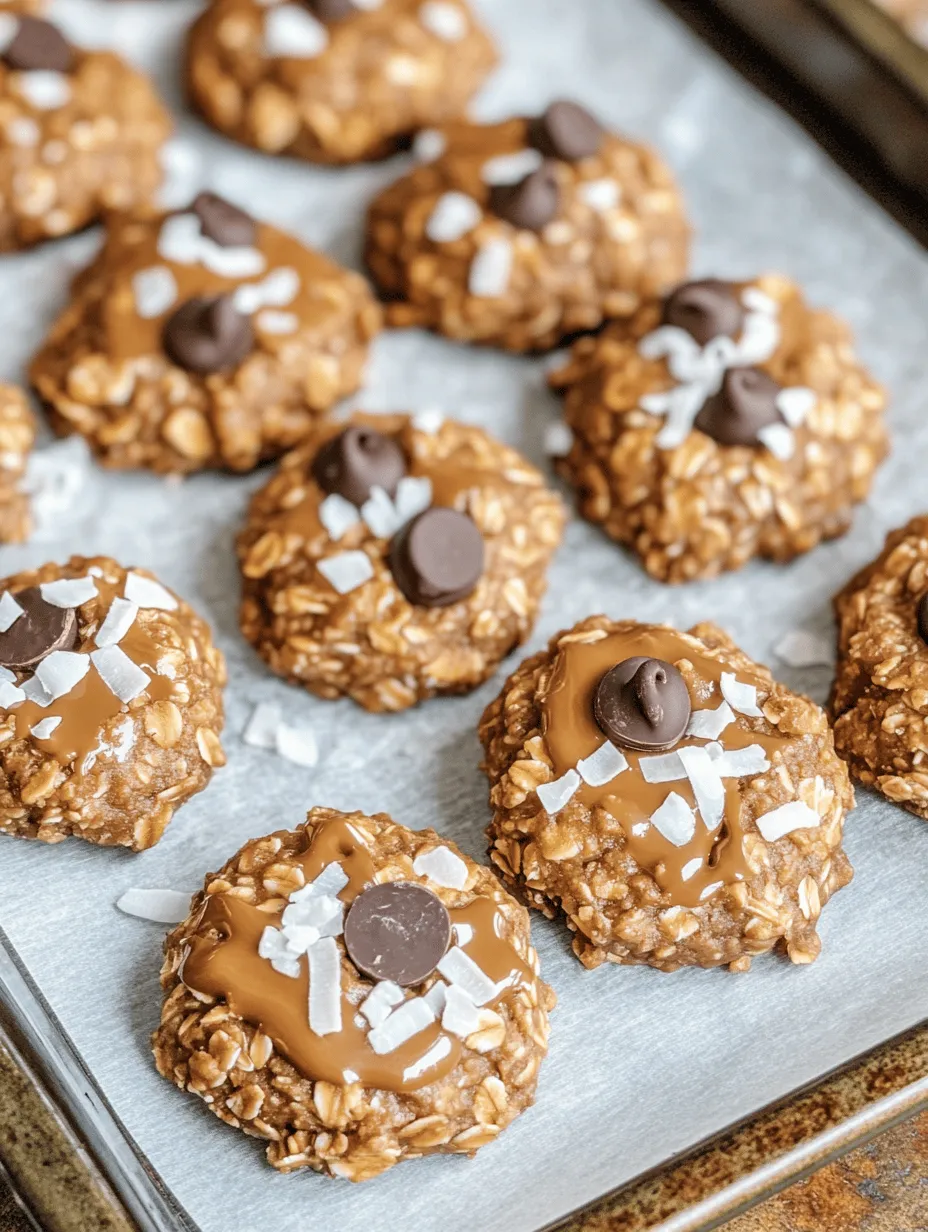
Introduction to Creamy Peanut Butter No-Bake Bliss
If you’re searching for a quick, healthy, and utterly satisfying treat, look no further than creamy peanut butter no-bake cookies. This delightful recipe is not only simple to whip up but also requires no baking, making it the ideal indulgence for those busy days or warm summer evenings when turning on the oven just isn’t an option. In just a few steps, you can create a mouthwatering dessert that is sure to please your taste buds and leave you feeling good about what you’re eating.
No-bake recipes have surged in popularity due to their convenience and ease of preparation. With minimal equipment needed—often just a mixing bowl and a spoon—these desserts cater to individuals and families looking to save time in the kitchen without sacrificing flavor. Whether you’re a seasoned home cook or a kitchen novice, this recipe allows you to create something delicious in no time. Plus, they are perfect for satisfying those sweet cravings without the hassle of baking.
Beyond their ease of preparation, creamy peanut butter no-bake cookies boast a wealth of nutritional benefits. The star ingredient, creamy peanut butter, is packed with protein and healthy fats, providing not just energy but also a sense of fullness that can help curb those mid-afternoon snack attacks. When combined with wholesome rolled oats, these cookies offer a hearty dose of fiber, making them not just a treat but a more balanced option for dessert.
Understanding the Ingredients
Before diving into the preparation of these delectable cookies, it’s important to understand the key ingredients that make this recipe both tasty and nutritious.
Creamy Peanut Butter
Peanut butter is the heart and soul of this recipe, and choosing the right type can elevate your cookies from good to extraordinary. There are several varieties available, including creamy, crunchy, natural, and conventional peanut butter.
– Creamy Peanut Butter: This is the most commonly used type for no-bake cookies. Its smooth texture allows for easy mixing and gives the cookies a rich and velvety mouthfeel.
– Crunchy Peanut Butter: For those who enjoy a little extra texture, crunchy peanut butter can be used. It adds delightful peanut pieces that enhance the cookie’s crunchiness.
– Natural Peanut Butter: Made from just peanuts (and sometimes salt), this version lacks added sugars and oils, making it a healthier choice. However, it may separate, requiring a good stir before use.
– Conventional Peanut Butter: This type often contains added sugars and hydrogenated oils for texture and sweetness. While it works in recipes, it may detract from the health benefits.
Nutritionally, peanut butter is a fantastic source of healthy fats, protein, and essential vitamins like vitamin E and B6. It provides energy and can help support muscle growth and repair, making it a great ingredient for an after-workout snack.
Honey or Maple Syrup
To sweeten these cookies, you’ll need a natural sweetener, either honey or maple syrup. Both options bring their own unique flavors and health benefits to the table.
– Honey: This sticky natural sweetener not only adds sweetness but also contains antioxidants, vitamins, and minerals. Honey has a distinct, rich flavor that complements the nuttiness of peanut butter beautifully. It also has antibacterial properties, making it a wholesome choice.
– Maple Syrup: If you prefer a vegan option or simply enjoy the taste of maple, maple syrup is an excellent alternative. It has a unique flavor profile with caramel-like notes that can add depth to your cookies. Maple syrup is also rich in antioxidants and contains important minerals like manganese and zinc.
Whether you choose honey or maple syrup, both sweeteners will contribute to the overall taste and texture of your no-bake cookies, enhancing their appeal while keeping them on the healthier side.
Vanilla Extract
Vanilla extract is a staple in baking and dessert recipes, and it plays a crucial role in this no-bake cookie recipe. The addition of vanilla enhances the flavor and aroma, lifting the overall taste profile of the cookies.
Vanilla extract is derived from vanilla beans, making it a natural flavoring agent. It’s known for its ability to mellow out flavors, making sweet treats taste even sweeter without the need for excessive sugar. Furthermore, vanilla has been associated with various health benefits, including antioxidant properties and potential mood-enhancing effects.
Rolled Oats
The inclusion of rolled oats is essential in this recipe, as they provide both texture and nutritional value. Rolled oats are less processed than instant oats, retaining more of their natural fiber and nutrients.
The benefits of using rolled oats include:
– Fiber Content: Oats are a great source of soluble fiber, which can help improve digestion, lower cholesterol levels, and keep you feeling full longer.
– Energy Boost: The complex carbohydrates in oats provide sustained energy, making them an excellent choice for a snack or dessert.
– Texture: Rolled oats lend a chewy texture to the cookies, creating a satisfying bite that complements the creaminess of the peanut butter.
Optional Ingredients: Dark Chocolate Chips and Unsweetened Shredded Coconut
While the base recipe is already delicious, you can elevate the flavor and texture even further with optional ingredients like dark chocolate chips and unsweetened shredded coconut.
– Dark Chocolate Chips: Adding dark chocolate chips introduces a rich, indulgent flavor that pairs beautifully with the nutty taste of the peanut butter. Dark chocolate is also known for its health benefits, including antioxidants that can support heart health.
– Unsweetened Shredded Coconut: For those who love a tropical twist, incorporating unsweetened shredded coconut adds a delightful chewiness and subtle sweetness. Coconut is rich in healthy fats and can provide a boost of energy while enhancing the overall flavor of the cookies.
Now that we’ve explored the key ingredients, let’s move on to the exciting part—preparing the mixture for our creamy peanut butter no-bake cookies!
Step-by-Step Instructions for Preparation
Preparing the Mixture
To get started, gather all the ingredients and prepare your workspace. This recipe is straightforward and requires minimal equipment, making it perfect for any kitchen.
1. Combine the Ingredients: Begin by placing the creamy peanut butter, honey or maple syrup, and vanilla extract into a large mixing bowl. If you’re using any optional ingredients like dark chocolate chips or shredded coconut, have those ready as well.
2. Mixing: Using a spatula or wooden spoon, mix the peanut butter, honey (or maple syrup), and vanilla extract until they are well combined. The goal here is to achieve a smooth consistency without any lumps. If you find that your peanut butter is particularly thick, you can gently warm it in the microwave for a few seconds to make it easier to mix.
3. Incorporate the Rolled Oats: Once your peanut butter mixture is smooth, add in the rolled oats. Stir well to ensure that the oats are evenly coated in the peanut butter mixture.
4. Achieving the Right Consistency: Depending on the type of peanut butter you used and the moisture content, you may need to adjust the mixture. If it seems too dry, you can add a little more honey or maple syrup. Conversely, if it’s too wet, sprinkle in a bit more rolled oats until you reach a thick, dough-like consistency.
5. Adding Optional Ingredients: If you are using dark chocolate chips or shredded coconut, fold them into the mixture at this stage. Make sure they are evenly distributed throughout the cookie dough.
This mixture is the foundation for your creamy peanut butter no-bake cookies and sets the stage for the deliciousness to come. The next steps will guide you through shaping and chilling the cookies, ensuring they hold together perfectly while delivering an irresistible taste that will leave you craving more.
Stay tuned for the next part of this article, where we’ll delve into the final shaping and chilling process, along with additional tips for making the perfect no-bake cookies.
Incorporating Rolled Oats
To create the perfect texture and boost the nutritional value of your Creamy Peanut Butter No-Bake Bliss cookies, rolled oats are an essential ingredient. They not only add bulk and heartiness but also contribute a pleasant chewiness that complements the creamy peanut butter.
Techniques for Mixing Oats Thoroughly
When incorporating rolled oats into your peanut butter mixture, it’s vital to ensure they are evenly distributed throughout. Begin by adding the oats to your peanut butter mixture gradually, about one cup at a time. Use a large mixing bowl to allow enough space for combining. A spatula or wooden spoon works best for this task; gently fold the oats into the mixture rather than stirring vigorously, which can lead to clumping. This method ensures that each oat is adequately coated with the creamy peanut butter and sweetener, enhancing the overall flavor and consistency of your cookies.
Suggestions for Ensuring All Oats Are Evenly Coated
To ensure each oat gets the perfect amount of peanut butter coating, you can try the following methods:
1. Tossing Method: As you add the oats, toss them gently with the peanut butter mixture. This technique helps to keep the oats light and fluffy, preventing them from becoming dense.
2. Twisting Technique: Rotate your mixing bowl as you fold the oats in. This motion encourages even distribution without crushing the oats.
3. Batch Approach: If you find it challenging to incorporate the oats into a large batch, consider mixing smaller portions. Once thoroughly coated, combine them all back into one bowl.
Shaping the Cookies
With your oat mixture fully integrated into the peanut butter base, it’s time to shape your cookies. This step is crucial in determining the final appearance and size of your treats.
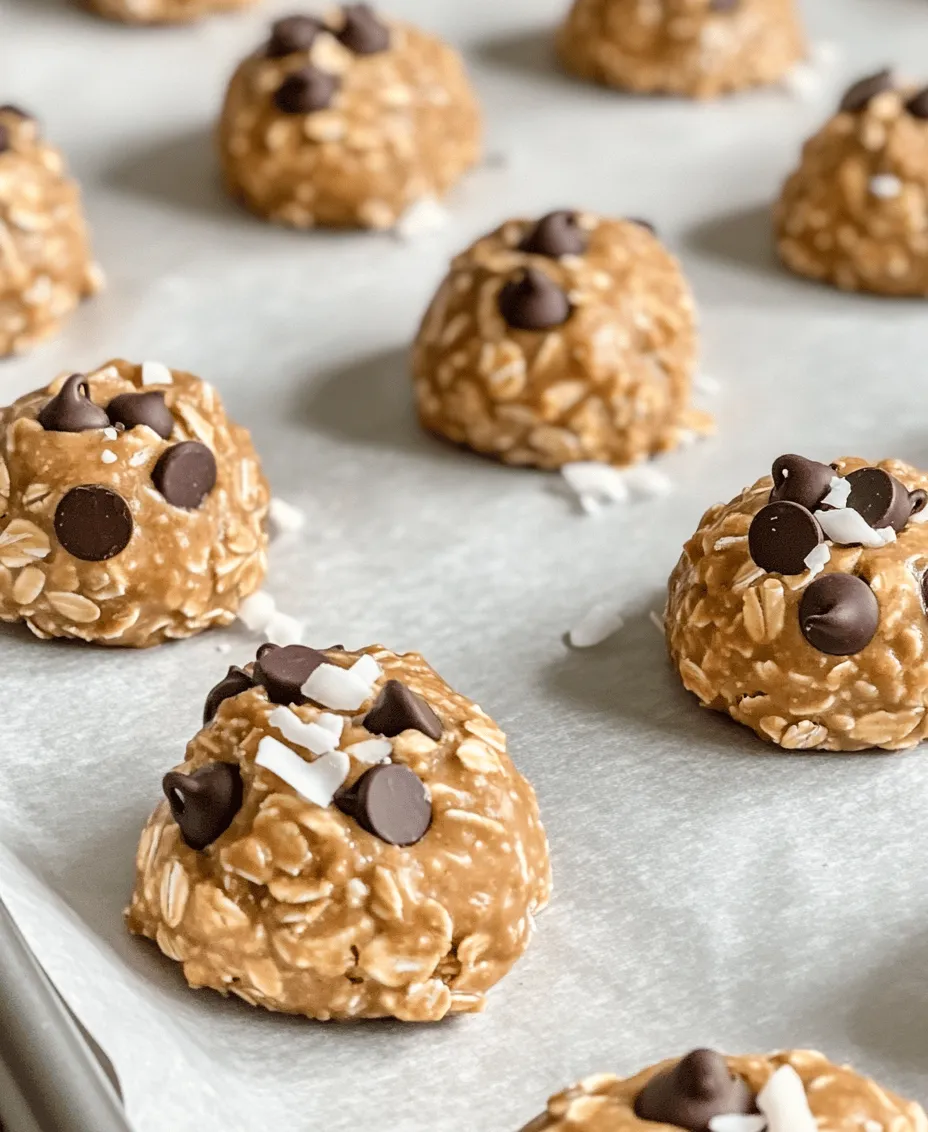
Instructions for Dropping the Mixture Onto the Parchment-Lined Tray
Using a cookie scoop or a tablespoon, drop rounded portions of the mixture onto a parchment-lined baking tray. Aim for about 1 to 2 tablespoons of mixture per cookie, keeping in mind that these cookies will not spread as they bake, so the shape you create will be the final shape of the cookie. Leave some space between each mound to allow for a little expansion during chilling.
Options for Shaping and Sizing the Cookies Based on Personal Preference
Feel free to customize the size and shape of your cookies according to your preference. For bite-sized snacks, use a smaller scoop, or for a more substantial treat, opt for larger mounds. You can also experiment with shapes—try pressing the mixture into cookie cutters or flattening them slightly with the back of a spoon for a more traditional cookie appearance. Regardless of size, remember that uniformity will help them chill evenly.
Chilling Process
The chilling process is an essential part of making these no-bake cookies. It allows the cookies to firm up, making them easier to handle and enhancing their texture.
Importance of Refrigeration for Setting the Cookies
Refrigeration allows the peanut butter and any added sweeteners to solidify, creating a firmer structure. This step is particularly important for no-bake cookies, as it prevents them from being too soft or sticky, ensuring they hold their shape when served.
Optimal Chilling Time for Best Texture and Taste
For best results, chill your cookies in the refrigerator for at least 30 minutes. This time frame allows them to set properly while still remaining chewy. If you prefer a firmer texture, consider chilling them for up to an hour. Once the cookies are set, they can be stored in an airtight container in the fridge, ready to enjoy!
Serving Suggestions and Storage
Ideal Serving Suggestions
These delicious, creamy peanut butter no-bake cookies are perfect as a snack or dessert. They pair wonderfully with a variety of drinks:
– Milk: A classic pairing; whether it’s dairy, almond, or oat milk, the creaminess complements the cookies perfectly.
– Coffee: The rich flavors of peanut butter and coffee create a delightful combination for an afternoon pick-me-up.
– Tea: Herbal teas, such as chamomile or peppermint, can provide a refreshing contrast to the sweetness of the cookies.
For gatherings, consider arranging the cookies on a decorative plate or tiered stand. You can also drizzle melted chocolate or sprinkle crushed nuts on top for an elegant touch.
Storage Tips
To keep your cookies fresh and delicious, store them in an airtight container at room temperature or in the refrigerator. Avoid exposing them to heat or moisture, as this can affect their texture and flavor. Ideally, these cookies can be kept in the fridge for up to one week. If you want to extend their shelf life, consider freezing them. Just be sure to separate layers with parchment paper to prevent sticking.
Nutritional Information
Breakdown of Nutritional Content per Serving
Each cookie offers a delightful balance of flavors and nutrients. On average, a single cookie contains approximately:
– Calories: 150-200
– Protein: 5-7g
– Carbohydrates: 20-25g
– Fat: 8-10g
– Fiber: 2-3g
Additionally, these cookies provide important vitamins and minerals, including vitamin E, magnesium, and potassium, thanks to the peanut butter and oats. They are a healthier snack option compared to traditional cookies, packed with wholesome ingredients that can satisfy your cravings without excessive sugar.
Conclusion
Making Creamy Peanut Butter No-Bake Bliss cookies is not only enjoyable but also a convenient way to indulge in a delicious treat. With their simple preparation and delightful flavors, these cookies are perfect for any occasion. The flexibility of the recipe allows for ingredient substitutions; feel free to experiment with different nut butters, sweeteners, or add-ins like chocolate chips or dried fruits.
Whether you’re looking for a quick snack, a dessert for a gathering, or a healthier alternative to traditional cookies, this recipe delivers. Try it out for yourself and experience the joy of creating these delectable no-bake cookies. You’ll find that they are not only easy to make but also irresistibly tasty, making them a staple in your recipe collection.